The contractors who do this work must hold competency in both roofing and electrical systems. This isn't a job for a general roofer, a standard solar panel installer, or a motivated DIYer. In California, the licensing and permitting requirements reflect that complexity.
This guide covers the complete installation process — from pre-installation site assessment through grid connection — plus the common problems that arise and how to avoid them.
Key Takeaways
- Solar roof tiles replace the roof surface entirely; installation is a full roof replacement, not an energy add-on
- The process follows seven stages: consultation, permitting, roof removal, underlayment, tile installation, electrical wiring, and final inspection
- The total timeline runs 5–10 weeks, with on-site physical work taking roughly one week
- California requires both building permits and utility interconnection approval (LADWP or SCE) before work begins
- Only contractors licensed in both roofing and solar electrical work should handle the project; most manufacturer warranties require it
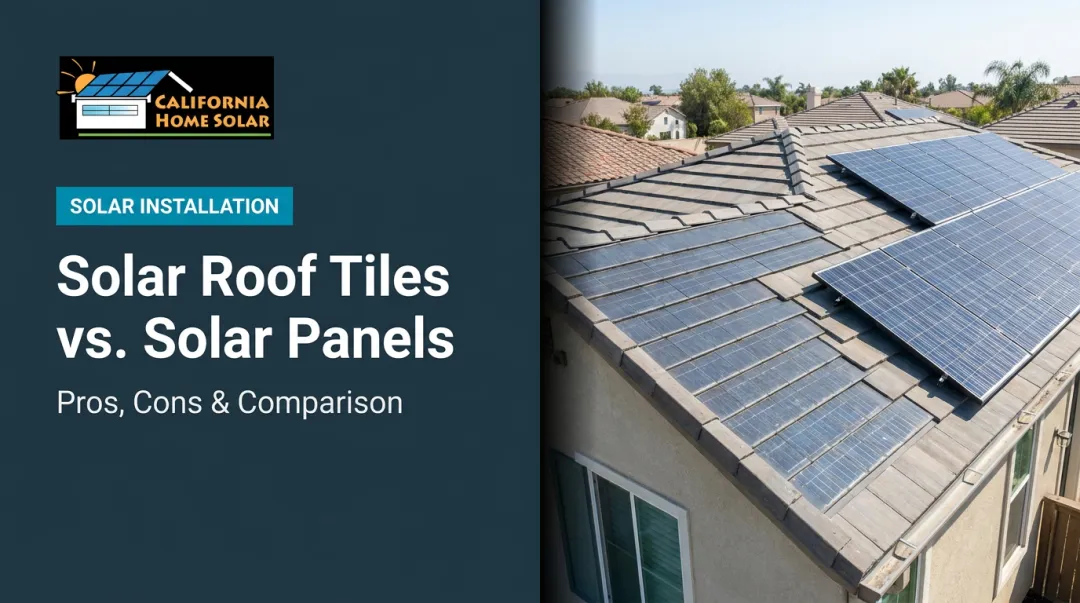
Solar Roof Tiles vs. Rooftop Solar Panels: Why the Difference Matters
Many homeowners treat solar tiles and rooftop panels as interchangeable options. In practice, they're built on fundamentally different principles — and that gap shapes everything from your contractor selection to your project timeline.
Rooftop solar panels (technically called BAPV — building-attached photovoltaics) are mounted on brackets above an existing roof. The roof stays in place. The panels are an add-on.
Solar roof tiles (BIPV — building-integrated photovoltaics) are the roof. The IEA PVPS defines BIPV as photovoltaic products that replace a conventional construction material and fulfill building functions — structural integrity, weather protection, and mechanical rigidity. Remove a solar tile, and you must replace it with another construction product. The roof doesn't function without it.
That distinction has practical consequences for homeowners evaluating their options:
| Factor | Solar Roof Tiles (BIPV) | Rooftop Solar Panels (BAPV) |
|---|---|---|
| Existing roof | Removed entirely | Stays in place |
| Trades required | Roofing + electrical | Electrical/solar only |
| Permit scope | Full roofing + solar | Solar only |
| Timeline | 5–10 weeks | 1–3 weeks |
| Visual outcome | Uniform roof appearance | Panels visible above roofline |
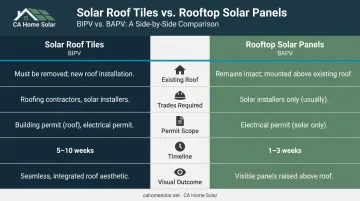
Choosing solar tiles means committing to a full roof replacement — which pushes the budget well beyond a typical solar add-on project. You'll need a contractor licensed in both roofing and electrical work, two separate permit applications, and significantly more lead time. Getting quotes without that context often leads to sticker shock mid-process.
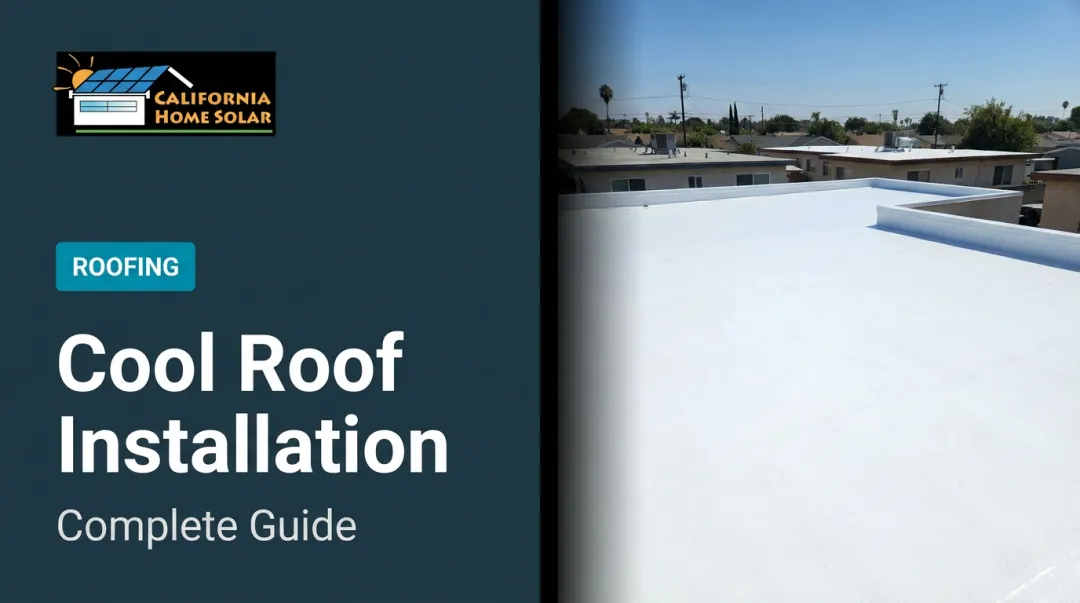
Solar Roof Tile Installation: Complete Guide
The physical work on a typical home takes about a week on-site. The full project — from signed contract to permission to operate — runs closer to 5–10 weeks, largely because permitting and utility coordination happen before and after the physical installation.
Here's what each stage involves.
Prerequisites and Site Assessment
Before any work begins, a qualified installer evaluates three things:
- Roof structure and load capacity — Solar tiles are heavier than standard asphalt shingles. GAF's Timberline Solar ES 2, for example, lists an installed system weight of 3.36 lb/sq ft, with each energy shingle weighing 10.1 lb. The California Building Code treats this as dead load, and the decking, joists, and trusses must be sized accordingly. If they're not, structural reinforcement is required before installation proceeds.
- Solar access — The roof needs sufficient unobstructed sun exposure. South- and west-facing pitches perform best in Southern California. Both Tesla Solar Roof and GAF Timberline Solar require a minimum roof pitch of 2:12; shallower roofs are not eligible.
- Electrical panel capacity — California's 2019 Energy Code identifies 200 amps as the minimum service panel size for solar-ready single-family homes. Undersized panels require upgrades before the solar system can be connected.
Additional checks specific to California homeowners:
- HOA restrictions — Communities in areas like Palos Verdes, Malibu, or gated neighborhoods throughout LA County may have architectural review requirements. These don't override California's solar access protections, but they can affect tile color choices and design approval timelines.
- Contractor licensing — California's CSLB requires specific license classifications for this work. The CPUC's Solar Consumer Protection Guide recommends verifying active CSLB classifications such as C-46 (Solar), C-10 (Electrical), and/or B (General Building). A contractor capable of handling both the roofing and electrical scopes — like CA Home Solar, which has provided solar and roofing services across Southern California for 36 years — can assess all three areas in a single pre-installation visit.
Non-negotiables: Installation should not proceed if structural reinforcement is incomplete, permits haven't been issued, or the electrical panel is undersized. Skipping these checks creates safety hazards and can void manufacturer warranties.

Materials and Equipment Required
A professional installation team arrives with everything. Homeowners don't source materials independently — that's part of what a reputable installer includes in the project quote.
What the crew brings:
- Active solar tiles and inactive matching tiles (styled to create a uniform roof appearance)
- High-performance waterproof underlayment membrane
- Metal flashing for all roof penetrations
- Roofing battens and decking boards
- Weatherproof electrical conduit and wiring
- An inverter (string inverter or microinverters depending on system design)
- Fastening hardware rated for California's wind and seismic exposure
Southern California falls within seismic Zone 4, and coastal areas face significant wind loads. Hardware specifications aren't interchangeable — the installation design should specify components rated for those local conditions.
The homeowner's decisions at this stage are limited to tile style and color, inverter preference, and whether to include battery storage. Everything else is the installer's responsibility.
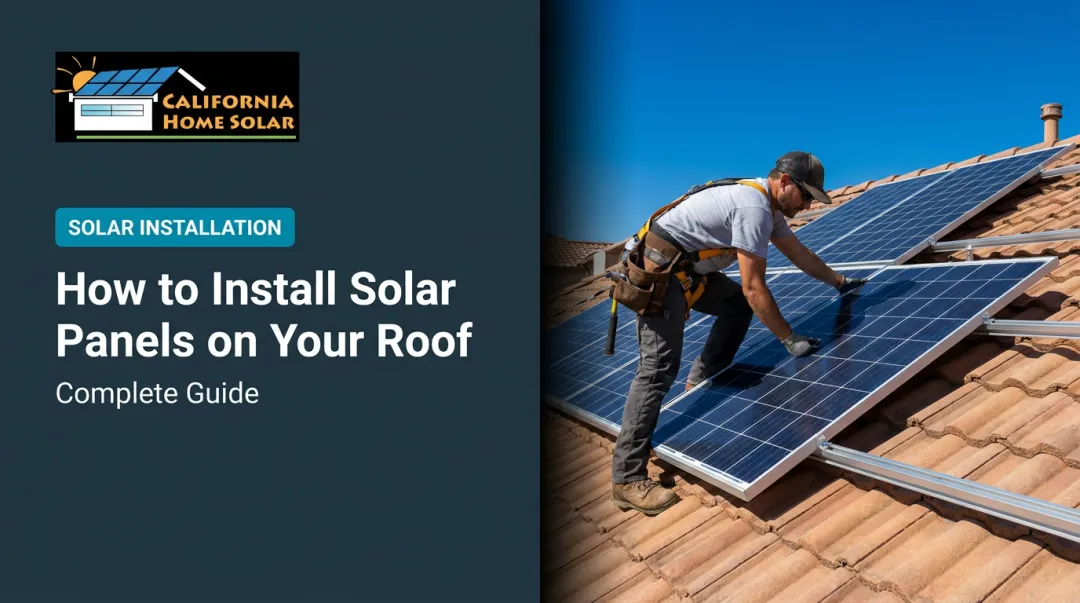
Step-by-Step Installation Process
Step 1 — Consultation, energy assessment, and custom design
A solar specialist reviews roof dimensions, sun exposure data, and 12 months of utility bills to size the system correctly. Design software maps the exact placement of active solar tiles and inactive matching tiles across every roof plane, balancing output maximization with a consistent visual appearance across all roof planes.
Step 2 — Permits and utility coordination
The installer submits the custom design to the local building department and files for interconnection approval with the relevant utility:
- LADWP (City of Los Angeles) — operates its own municipal NEM program; systems up to 30 kW without service upgrades follow the Type 1 process, with more complex cases escalating to Type 2 or 3
- SCE (surrounding areas) — customers connecting after April 14, 2023 fall under the CPUC Net Billing Tariff, which SCE calls the Solar Billing Plan; the interconnection fee for systems under 1 MW is $94
California's SB 379 requires automated permitting for residential solar systems up to 38.4 kW AC, with most jurisdictions required to comply by September 2023 or 2024. Where automated permitting platforms are active, NREL data shows permit review can be reduced to under one business day. Even so, this phase is often the longest wait in the project — budget 3–6 weeks for permitting and interconnection approvals.
Step 3 — Old roof removal and structural inspection
Once permits are approved, the crew strips the existing roof completely to the wooden decking. This is when hidden problems surface: rot, weakened joists, water damage, or undersized trusses. Any structural repairs must be completed before the new system goes on. Deferring these repairs will fail inspection and void the load warranty — the tile load calculation assumes a structurally sound deck.
Step 4 — Waterproof underlayment and flashing
A waterproof membrane is laid across the entire roof deck. Metal flashing is installed at every penetration point — chimneys, vents, valleys, and roof edges. This layer is what keeps water out if a tile ever cracks or shifts. Tesla's underlayment system, for example, meets ASTM D1970/ICC AC48 and ASTM E108 Class A certifications for ice dam and wind-driven rain protection.
This step cannot be compressed. Underlayment gaps and flashing defects are the leading cause of post-installation leaks, and they're expensive to fix once tiles are in place.
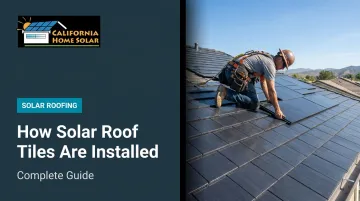
Step 5 — Laying solar and inactive tiles
Technicians follow the design plan exactly, alternating active solar tiles and inactive matching tiles to achieve a uniform appearance. Each tile is fastened with hardware rated for local wind and seismic requirements. No electrical connections are made at this stage — tile placement and electrical work are kept separate.
Step 6 — Electrical wiring and inverter installation
Electricians run weatherproof wiring from the tile array through conduit to the inverter. The inverter converts DC power from the tiles into AC power for the home. If battery storage is included, it connects here. CA Home Solar works with microinverter options including the Enphase IQ8 series as well as string inverter configurations — the right choice depends on roof layout, shading conditions, and monitoring preferences.

Post-Installation Validation
Before the system is activated, two rounds of sign-off are required:
- Installer inspection: Visual check of all tile alignment, gaps, and potential cracked units, plus electrical verification of wiring connections, inverter operation, and expected output readings.
- Formal sign-off: A local building inspector reviews the installation against the permitted design. The utility company then conducts its own review for grid interconnection. SCE typically issues Permission to Operate within 5–10 business days after the interconnection review is complete.
Only after both approvals is the system activated and generating power.
Activating before inspection approval can result in the utility disconnecting the system — and problems like incorrect wiring polarity or underlayment gaps are far cheaper to fix before tiles have been repeatedly walked on or the attic sealed.
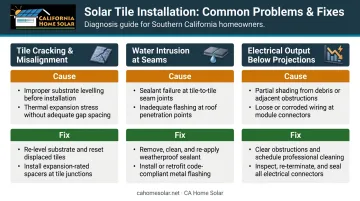
Common Installation Problems and How to Fix Them
Even well-executed plans encounter issues. Three problems come up most often.
Tile Cracking or Misalignment
Tiles crack under foot pressure or land out of sequence when installers aren't familiar with tile-specific loading requirements, or when workers deviate from the placement plan. Either mistake creates visible gaps or structural weak points that can't be patched over.
The fix requires stopping work before electrical wiring begins. Specifically:
- Use padded walkboards for all foot traffic during installation
- Replace cracked tiles with manufacturer-supplied units only — patching is not acceptable
- Check surrounding tiles for micro-fractures before resuming
Water Intrusion at Seams or Penetration Points
Leaks that appear weeks or months after installation typically originate at flashing joints around chimneys, vents, or the boundary between the solar array and adjacent roofing. The cause is almost always sequencing: flashing installed out of order, or underlayment that wasn't fully lapped and sealed before tiles went down. Research on wind-driven rain intrusion in BIPV systems confirms the tile-to-building interface as the primary vulnerability.
Fixing it means carefully lifting the affected section to expose and re-seal the underlayment and flashing. This repair is labor-intensive and expensive — which is exactly why the waterproofing step shouldn't be rushed the first time.
Electrical problems tend to surface after the waterproofing issues are resolved — but they're just as disruptive.
Electrical Output Below Projections
When the system produces noticeably less power than the design estimate, inverter alerts fire or the monitoring app flags the shortfall. The usual culprits are wiring connections made in the wrong sequence, shading from a structure or tree missed during site assessment, or a tile that passed visual inspection but carries an internal defect.
The installer reviews inverter data logs and runs a tile-by-tile output test to isolate the source. Shading issues and wiring errors are typically caught quickly this way. Component defects may require the manufacturer's technical team to confirm and resolve.
Pro Tips for a Successful Solar Tile Roof Installation
Sequence panel upgrades first. If the home needs an electrical panel upgrade, complete it before solar tile installation begins. Waiting until after the tiles are in place delays grid connection approval and adds cost to the project.
Get documentation at project close. Request the as-built wiring diagram, permit sign-off copies, and manufacturer warranty registration before the crew leaves the site. These documents are essential for future home sales, insurance claims, and warranty service — and they're harder to obtain after the project closes.
Vet installers on BIPV experience specifically. A contractor with 500 standard panel installs may have zero solar tile roofs in their portfolio. Ask directly: how many BIPV tile roofs — not panel installs — have you completed? Always verify active CSLB licensing before signing anything.
For LA-area homeowners, CA Home Solar's 36-year track record, repeated Top 500 Solar Contractor recognition from Solar Power World (2015, 2016, 2018, 2021, 2023, and 2025), and dual-trade roofing and solar capability make them a contractor worth evaluating for BIPV tile projects in Southern California.
Frequently Asked Questions
How do you reroof when you have solar roof tiles?
Reroofing with an existing solar tile system requires carefully removing and storing the active and inactive tiles, replacing the underlayment and decking beneath, then re-laying tiles in their original sequence. This requires the same dual-trade expertise as the original installation. Confirm your warranty specifically covers removal and reinstallation before scheduling the work.
How long does solar roof tile installation take from start to finish?
Design and permitting typically take 3–6 weeks; physical installation runs approximately 5–10 days on-site; inspection and grid connection add 1–4 weeks. Total project duration is commonly 5–10 weeks, depending on local permit office workload and utility processing times.
Can solar roof tiles be installed on any home?
Most homes are eligible, but the roof structure must support the tile weight, the home needs adequate unobstructed sun exposure, and the electrical panel must be correctly sized. A professional site assessment determines eligibility. No commitment should be made before that assessment is complete.
Do solar roof tiles require special permits in California?
Yes. California requires a building permit from the local jurisdiction and interconnection approval from the applicable utility (LADWP, SCE, or another provider). A reputable installer handles all permitting as part of the project scope, and work should never begin without approved permits in hand.
What is the difference between solar roof tiles and solar panels installed on a tile roof?
Solar roof tiles replace the roof entirely and function as both the weatherproof surface and the power generator. Solar panels mounted on a tile roof sit above the existing tiles on brackets and leave the original roof intact.
How much maintenance do solar roof tiles require after installation?
Solar roof tiles require minimal maintenance. There are no moving parts, and an annual rinse to clear dust and debris is typically sufficient. Checking your inverter's output readings monthly helps catch any performance drop early, before a small issue becomes a costly repair.