Professional installation is strongly recommended for full-frame replacements. Insert or retrofit installs in sound existing frames can sometimes be handled by skilled DIYers, but handling soft-coat Low-E glass requires care to avoid irreversible coating damage.
Poor installs create predictable, costly problems: broken seals cause fogging between panes, incorrect coating orientation reverses heat gain performance, and air gaps undo the insulation benefit entirely. These issues cost more to fix than getting it right the first time.
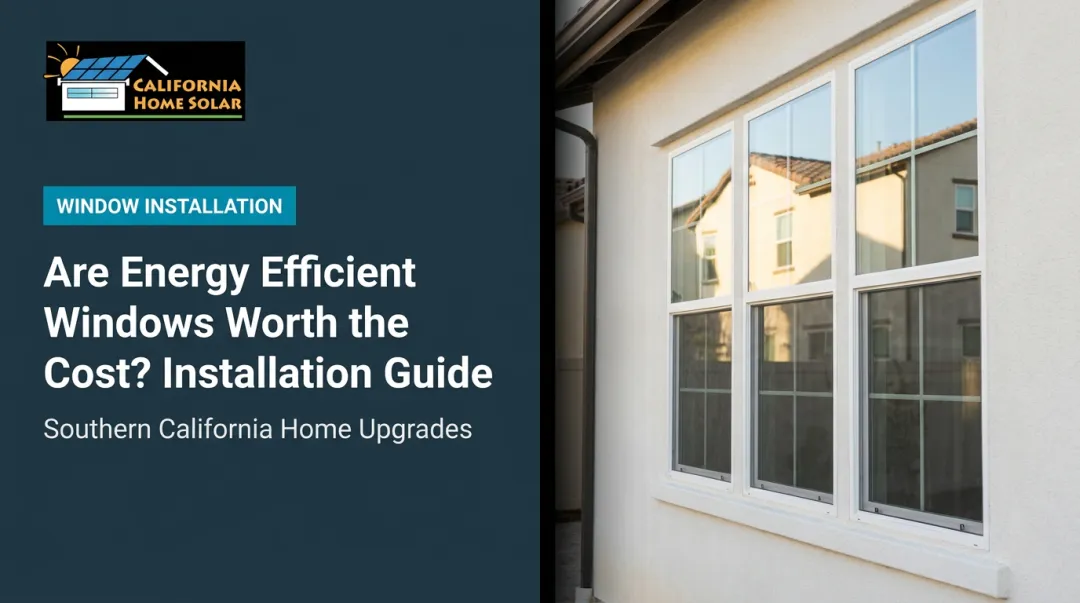
This guide walks Southern California homeowners through the complete, correct installation of Low-E glass windows — what to prepare, how the process works step-by-step, and what to verify before the job is done.
Key Takeaways
- Low-E glass significantly reduces solar heat gain — especially valuable where cooling costs dominate utility bills
- Soft-coat Low-E (better solar heat rejection) suits most SoCal homes; hard-coat works for high-traffic or single-pane retrofit situations
- Installation requires precise measurements, correct coating orientation, compatible sealants, and thorough sealing; skipping any step risks seal failure
- Post-installation validation is non-negotiable: check for drafts, seal integrity, and smooth operation before sign-off
- HERO financing and potential federal tax credits can meaningfully offset upfront costs on qualifying installations
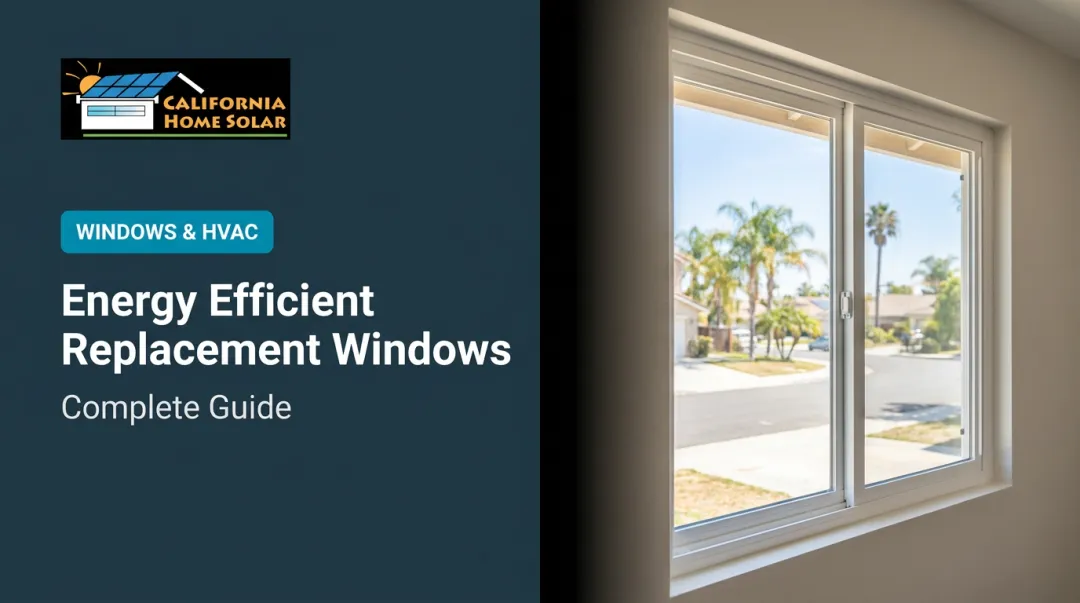
Low-E Glass Window Installation Guide
Low-E window installation follows four phases in sequence: site preparation and measurement → removal of the existing unit → placement and sealing of the new Low-E unit → final performance checks. Each phase affects the next, so order matters.
Realistic timeline: a single window replacement typically takes 1–3 hours for a professional team. A full-home project may span 1–2 days. DIY installs add time due to unfamiliarity with sealing techniques and glass handling.
Prerequisites and Safety Considerations
Before touching the old window, confirm the existing frame is structurally sound. Check for rot, warping, or moisture damage — any of these will compromise the new window's seal. In coastal SoCal communities like Malibu, Manhattan Beach, or Hermosa Beach, inspect aluminum frames for salt corrosion. Milgard recommends keeping weep drainage slots clear and removing salt and sand from vinyl finishes in high salt-air areas.
Verify frame compatibility before ordering. Low-E insulated glass units (IGUs) typically come in ¾-inch to 1-inch overall thickness — Cardinal Glass confirms a standard dual-pane IGU can be ¾ inch using two 3mm panes with a 13mm airspace. The replacement unit must match the rough opening dimensions and frame depth exactly; a size mismatch is the most common cause of air infiltration after installation.
Safety requirements:
- Handle soft-coat Low-E glass with clean cotton gloves only — fingerprint oils degrade the coating permanently
- Do not proceed if the rough opening shows active moisture intrusion or structural instability
- Soft-coat Low-E glass cannot be field-cut; order units to exact dimensions
Tools and Materials Required
Once the frame is confirmed sound and your IGU is sized correctly, gather everything before starting — stopping mid-install to find a missing tool breaks the sealing sequence.
Essential:
- Tape measure, level, pry bar, utility knife
- Low-expansion foam and UV-stabilized exterior-grade silicone sealant
- Rubber setting blocks (to support the IGU at the correct height in the frame)
- Cotton handling gloves and a caulking gun
Recommended:
- Moisture meter (to detect hidden frame dampness before sealing)
- Suction cup glass handlers for larger panes
- Shim assortment for leveling
- Waterproof shims for the rough opening
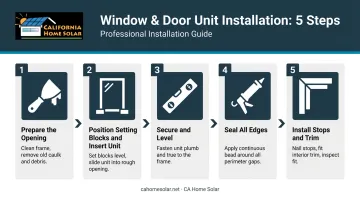
How to Install Low-E Windows (Step-by-Step)
Skipping steps — especially around sealing — is the most common cause of long-term performance failure. SoCal's wide daily temperature swings cause frames to expand and contract repeatedly, making proper sealing more critical here than in more stable climates.
Step 1 — Prepare the opening. Remove the old window unit carefully, preserving the frame if doing an insert replacement. Clean out old caulk, glazing compound, and debris. Inspect the sill for levelness and correct with shims if needed. Apply a bead of sealant to the sill before placement.
Step 2 — Position setting blocks and insert the unit. Place rubber setting blocks at the quarter points of the sill to support the glass and prevent direct contact between the IGU and frame. Carefully lower the Low-E unit into the opening. Coating orientation matters here: Guardian Glass confirms that solar-control Low-E coatings belong on surface 2 (the air-space side of the outer pane) to reflect solar energy before it enters the glazing. In a cooling-dominant climate like SoCal, reversing this increases heat gain rather than reducing it.
Step 3 — Secure and level. Check plumb and level on all four sides. Insert shims as needed at the jambs. Fasten per manufacturer instructions — screw through fin flange for new construction, compression fit or stops for insert replacements. Over-tightening stresses the IGU seal — stop once the unit sits snug.
Step 4 — Seal all edges. Apply continuous low-expansion foam insulation around the perimeter gap between frame and rough opening. High-expansion foam can bow the frame. Finish the exterior with UV-stabilized silicone sealant at all joints. SoCal's UV intensity degrades standard sealants faster than most other markets — UV stabilizers in the sealant formula are not optional here.
Step 5 — Install stops, trim, and interior finishing. Re-install or replace interior stops and trim. Ensure no fasteners penetrate the IGU edge seal. Apply interior caulk where trim meets the frame to complete the air barrier.
Post-Installation Checks and Validation
Visual checks:
- Inspect all four edges for continuous, unbroken sealant
- Verify the window opens, closes, and locks without binding
- Check the Low-E coating surface for fingerprints, smears, or discoloration — soft-coat damage cannot be repaired, so order a replacement unit if the coating is compromised
Functional validation: On a warm day, hold your hand near the frame perimeter and glass edge to detect air movement. An incense stick or thermal gun gives a more precise draft check. NFRC's Efficient Windows Collaborative notes that even small cracks around the frame can lead to substantial heat loss if unsealed — any detectable air movement indicates a sealing failure.
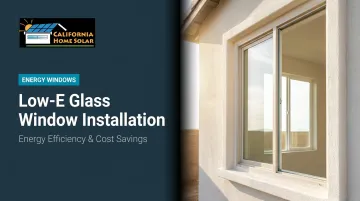
Energy Efficiency and Cost Savings in Southern California
Southern California's long cooling seasons and intense solar radiation make Low-E glass one of the most practical upgrades available to local homeowners. According to the U.S. Department of Energy, heat gain and heat loss through windows account for 25% to 30% of residential heating and cooling energy use.
The Right Performance Metric: SHGC
For SoCal homeowners, the number that matters most is Solar Heat Gain Coefficient (SHGC). Lower SHGC means the glass blocks more solar heat before it enters the home.
Two standards set the performance floor for replacement windows in the LA area:
| Standard | U-Factor | SHGC | Notes |
|---|---|---|---|
| ENERGY STAR v7.0 (Southern zone, eff. Oct 23, 2023) | ≤ 0.32 | ≤ 0.23 | Required for ENERGY STAR certification |
| CA Title 24 2025, Climate Zone 10 (eff. Jan 1, 2026) | 0.30 | 0.23 | Prescriptive path for replacement windows |
| CA Title 24 2025 — 75 sq ft alteration exception | 0.40 | 0.35 | Applies only to qualifying small alterations |

Confirm which path applies to your permit before selecting a product.
What the Savings Actually Look Like
ENERGY STAR estimates that replacing single-pane windows with ENERGY STAR certified windows lowers household energy bills by an average of up to 13% nationwide. For Los Angeles specifically, ENERGY STAR's city-level estimates show $70/year and 5.9 MMBtu/year in savings from replacing single-pane windows — with the caveat that actual results depend on home orientation, shading, HVAC use, and SCE rate plan.
Speaking of SCE rates: on Time-of-Use plans, summer on-peak rates currently reach 58–74 cents/kWh during afternoon hours. Homes with pre-1990 single-pane windows — common throughout the LA basin — that are running AC through those peak hours face the largest and fastest financial return on Low-E window upgrades.
The Solar Combination Benefit
Those peak-hour savings compound further when Low-E windows are paired with solar. Reducing the home's cooling load means a solar system needs to produce less energy to offset utility consumption — and NREL's research on zero-energy buildings confirms that lower window thermal load can reduce the HVAC equipment size required, and the solar output needed to offset it.
For homeowners evaluating both investments, a consultation that addresses windows and solar together will give the most accurate picture of combined return.
Common Low-E Window Installation Problems and Fixes
Fogging or Condensation Between Panes
Problem
Moisture appears between the two panes shortly after installation.
Cause
The IGU seal was compromised during handling or installation. Incompatible solvents, oils, or plasticizers in setting blocks or sealants can migrate into the PIB primary seal and cause it to fail. SoCal's temperature swings accelerate failure in any marginal seal.
Fix
The IGU must be replaced — re-sealing a dual-pane unit in the field is not effective. Before installing the replacement:
- Confirm all materials contacting the IGU are compatible with PIB and silicone seals
- Verify setting blocks are correctly positioned before the unit is set
Air Infiltration at the Frame Perimeter
Problem
Drafts around the window frame edge, or the room isn't staying as cool as expected.
Cause
Insufficient foam insulation in the gap between the rough opening and window frame, or sealant applied with gaps or voids. Common when the sealing stage is rushed.
Fix
- Remove interior trim to access the gap
- Inject low-expansion foam wherever it's absent
- Re-caulk all exterior joints with UV-stabilized sealant
- Test for drafts before re-installing trim
Window Binding or Difficult Operation
Problem
The window won't open, close, or lock smoothly after installation.
Cause
Frame is out of square due to improper shimming, or over-tightened fasteners have bowed the frame. More common in older SoCal homes with settling foundations.
Fix
- Loosen fasteners and re-check level and plumb on all four axes
- Re-shim as needed, then re-fasten at correct torque
- Do not force operation — forcing the hardware damages the locking mechanism and can stress the IGU seal
Pro Tips for Installing Low-E Windows Effectively
Verify coating orientation before accepting delivery. For Southern California homes, confirm with the manufacturer that the Low-E coating is on surface 2 of the dual-pane unit. Check the NFRC label for SHGC before signing off — a unit delivered with the wrong coating spec cannot be corrected on-site.
Schedule installs during morning hours. SoCal's hot afternoons cause vinyl frames to expand noticeably. Installing during cooler morning hours or on overcast days gives silicone sealants better cure conditions and reduces the risk of gaps forming as temperatures drop overnight.
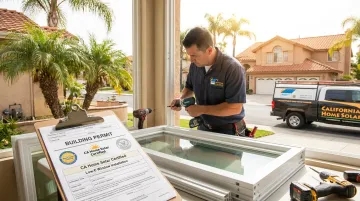
Retain all documentation. Keep the NFRC label, the manufacturer's installation guide, and photos of the installed unit before trim goes back on. This paperwork is required for federal tax credit claims, HERO financing applications, and warranty claims. Missing documentation is the most common reason homeowners lose access to incentive programs after installation.
As a HERO Registered Contractor, CA Home Solar can walk you through HERO financing for qualifying Low-E window installations. The program offers zero down payment, flexible 5–25 year terms, and no application fees.
Conclusion
Installation quality is what separates a Low-E window that delivers on its rated performance from one that just looks the part. The coating and glass unit are only as effective as the seal and frame integration around them. A correctly installed Low-E window in a Southern California home should produce a noticeable reduction in cooling load within the first billing cycle.
Working with a contractor familiar with California Title 24 requirements and local climate conditions avoids code mismatches and performance gaps. CA Home Solar has served Southern California homeowners for 36 years. For homeowners who want to know whether Low-E window installation combined with solar will deliver the best overall return on energy investment, that integrated assessment is exactly what CA Home Solar offers — reach out to start the conversation.
Frequently Asked Questions
Can you still get a tax credit for energy-efficient windows?
The federal Energy Efficient Home Improvement Credit (25C) offers 30% of qualified window costs, capped at $600 for windows and skylights. Windows must meet ENERGY STAR Most Efficient criteria to qualify. Check current IRS guidance at irs.gov for updates affecting your installation year.
Is Low-E glass worth it in a warm climate like Southern California?
Yes — Low-E is particularly effective in warm climates because blocking solar heat gain directly reduces air conditioning load. SoCal homeowners with single-pane or older double-pane windows typically see the most meaningful reductions in cooling costs, especially with west- and south-facing windows.
How long does Low-E glass window installation take?
A single window typically takes 1–3 hours for a professional install team. A whole-home project can be completed in 1–2 days. Proper sealing and sealant curing time should never be rushed; this step determines how well the window performs over the long term.
Can Low-E windows be installed in existing frames without full replacement?
Insert replacements — swapping just the glass unit into an existing frame — work when the frame is structurally intact and sized to fit the new insulated glass unit. Damaged, warped, or corroded frames require full-frame replacement to maintain proper sealing and performance.
How can I tell if my existing windows already have Low-E coating?
Hold a lit candle or small flame in front of the glass. In a double-pane window, you'll see four reflections — if one appears a different color, that color shift indicates a Low-E coating is present. A window installer can also verify this with a Low-E detector tool.
What's the difference between soft-coat and hard-coat Low-E for a California home?
Soft-coat offers lower SHGC and better solar heat rejection, making it the preferred choice for Southern California's cooling-dominant climate. Hard-coat is more durable and suited to high-traffic or single-pane retrofit situations but provides slightly less solar control overall.